How to change the colour of an SVG
Changing an SVG colour sounds like a ten-second job. SVGs occasionally disagree. The colour can come from a fill, a stroke, an inherited value, or a style rule buried in the file. SVG Studio lets you select the artwork, see what is actually painting it, and export a clean result without installing a design application the size of a small moon.
Open SVG Studio01
Change the visible colour
Open the SVG in SVG Studio and select the shape you want to change. Use Fill for the inside of a shape and Stroke for its outline. If several pieces should change together, select them together or choose their group in Layers.
- Open or paste the SVG.
- Select the shape or group.
- Choose a new Fill or Stroke colour.
- Export the edited SVG when it looks right.
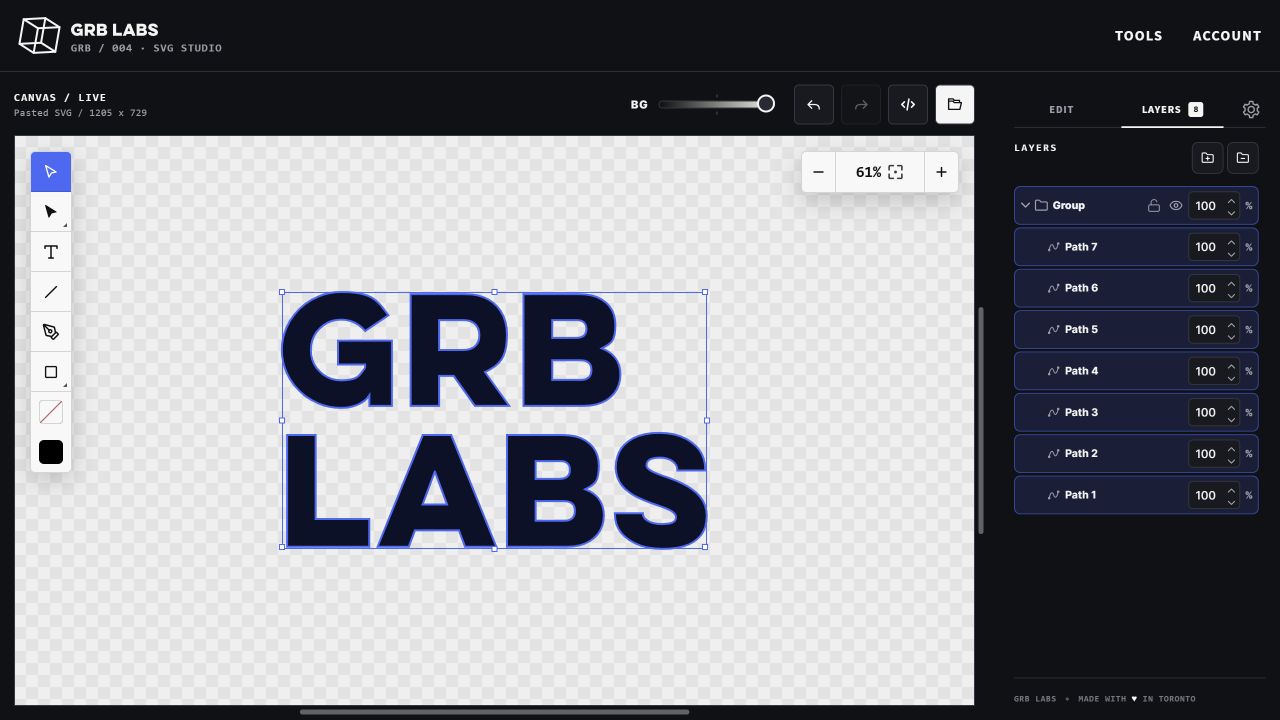 — open full-size screenshot in a new tab
02
Set an exact fill colour
With the artwork selected, open the Fill swatch in the canvas toolbar. Choose Solid and enter a hex colour for an exact match—we’re using GRB blue, #2C65F6. The selected artwork previews the change immediately. Choose Done to finish, then expand Export and choose Download SVG to save the recoloured file.
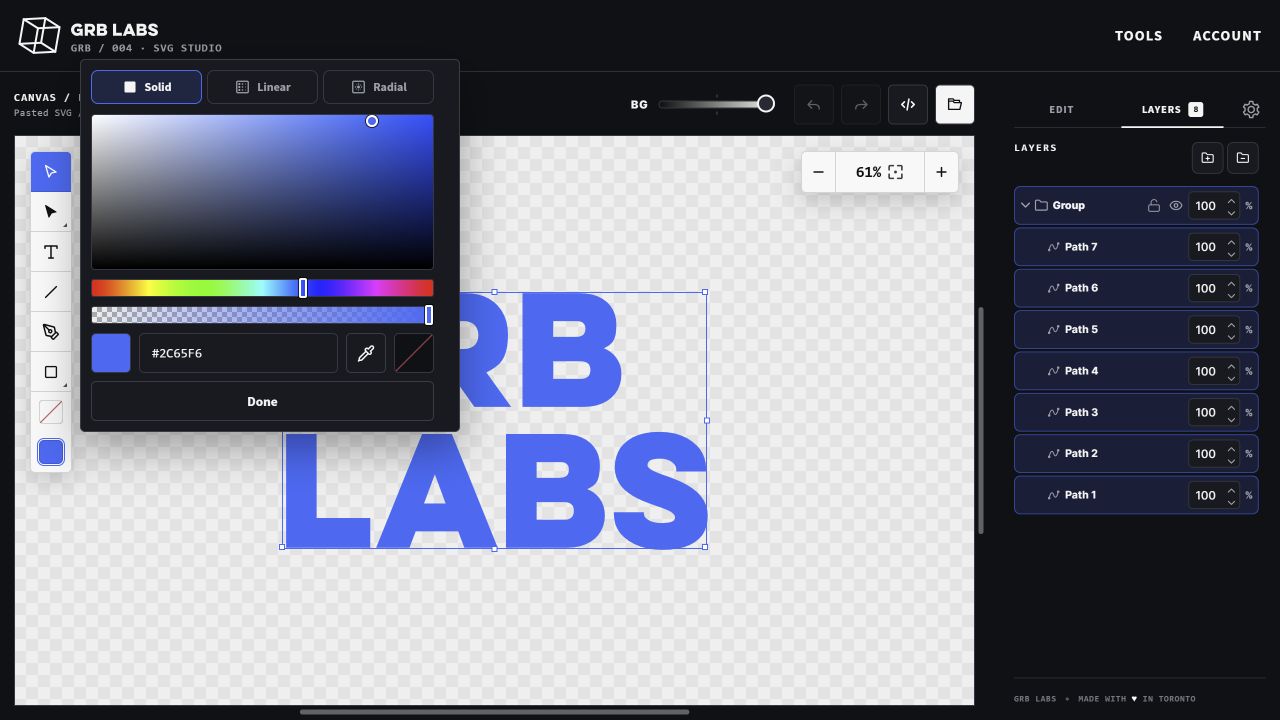 — open full-size screenshot in a new tab
03
Why changing the code sometimes does nothing
SVGs have several excellent places to hide a colour. Some files use embedded CSS, inherited colours, gradients, opacity, or currentColor instead of a simple fill attribute. A value elsewhere in the SVG can override the line you changed. SVG Studio resolves the rendered appearance and writes an explicit edit when you change the paint, which helps inherited artwork become self-contained.
04
Keep gradients and transparency intact
A gradient is several colours doing a very convincing impression of one. Select the gradient stop you want to adjust and change its colour or opacity. Exporting from SVG Studio preserves SVG gradients and transparency instead of flattening them into a bitmap.